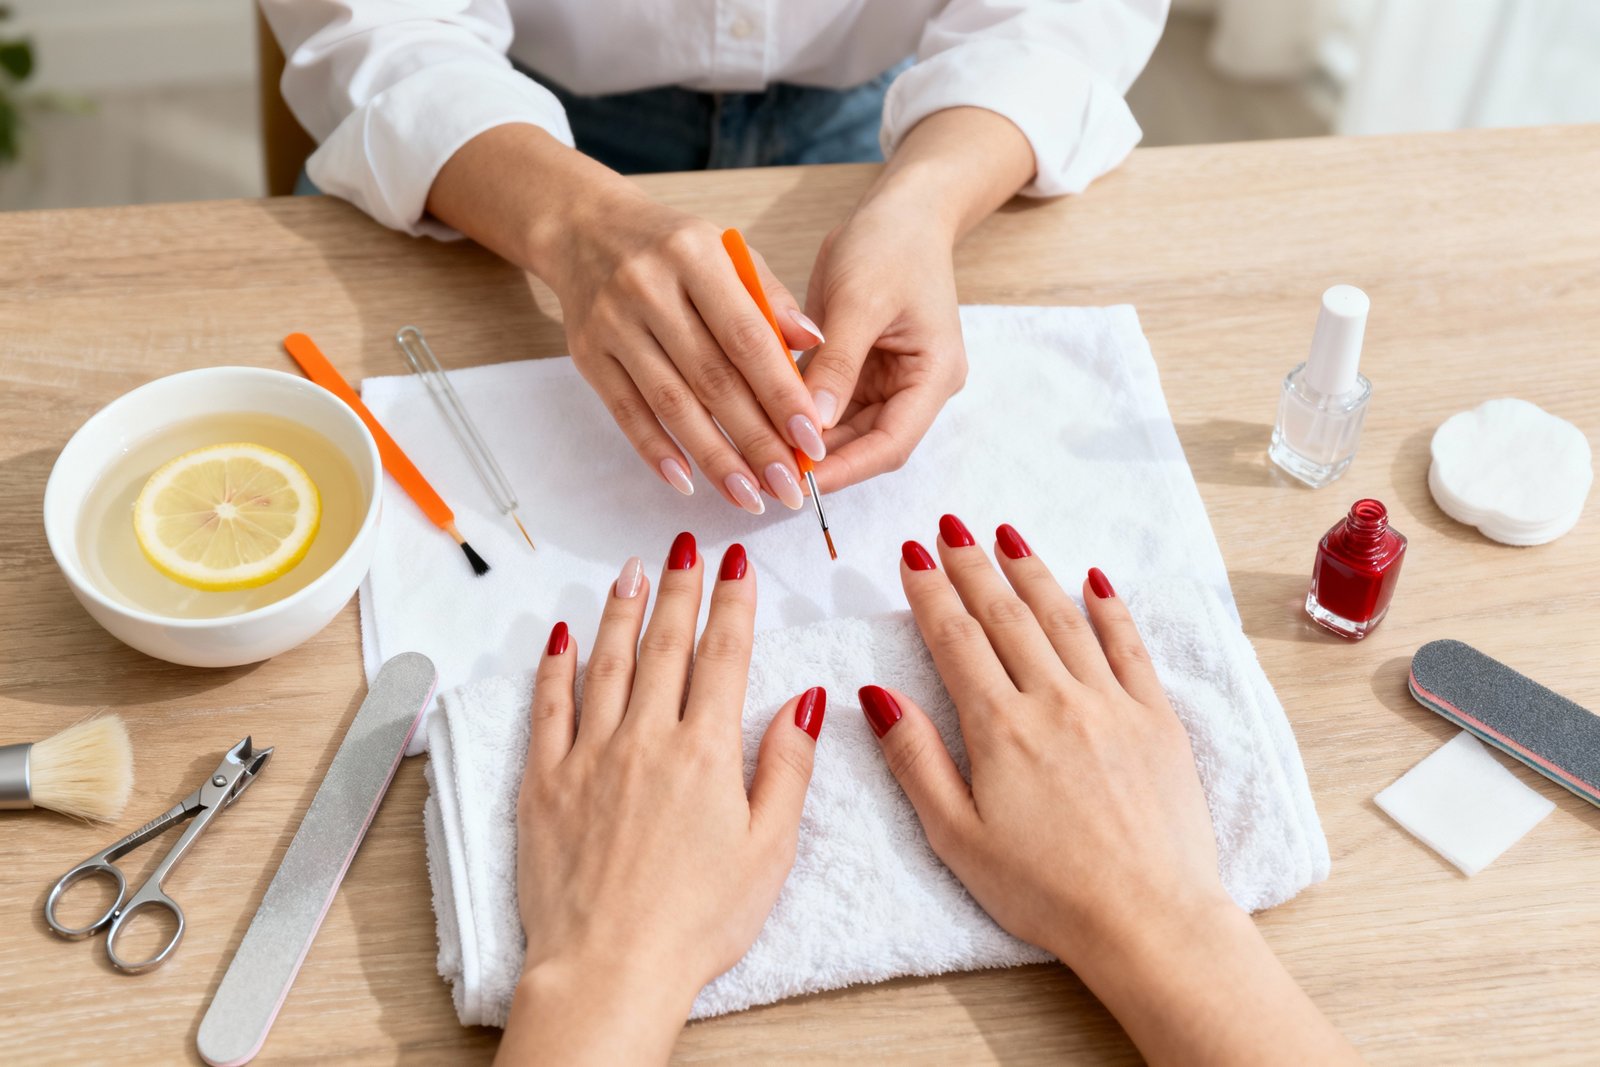
You don’t need a fancy salon chair to score glossy, chip-resistant nails. You need about an hour, a few staples, and the willingness to sit still while things dry (harder than it sounds, I know). A classic at-home manicure keeps your hands looking polished and pulled together, even when your life is… not.
Ready to turn your coffee table into a mini nail bar? Let’s do this.
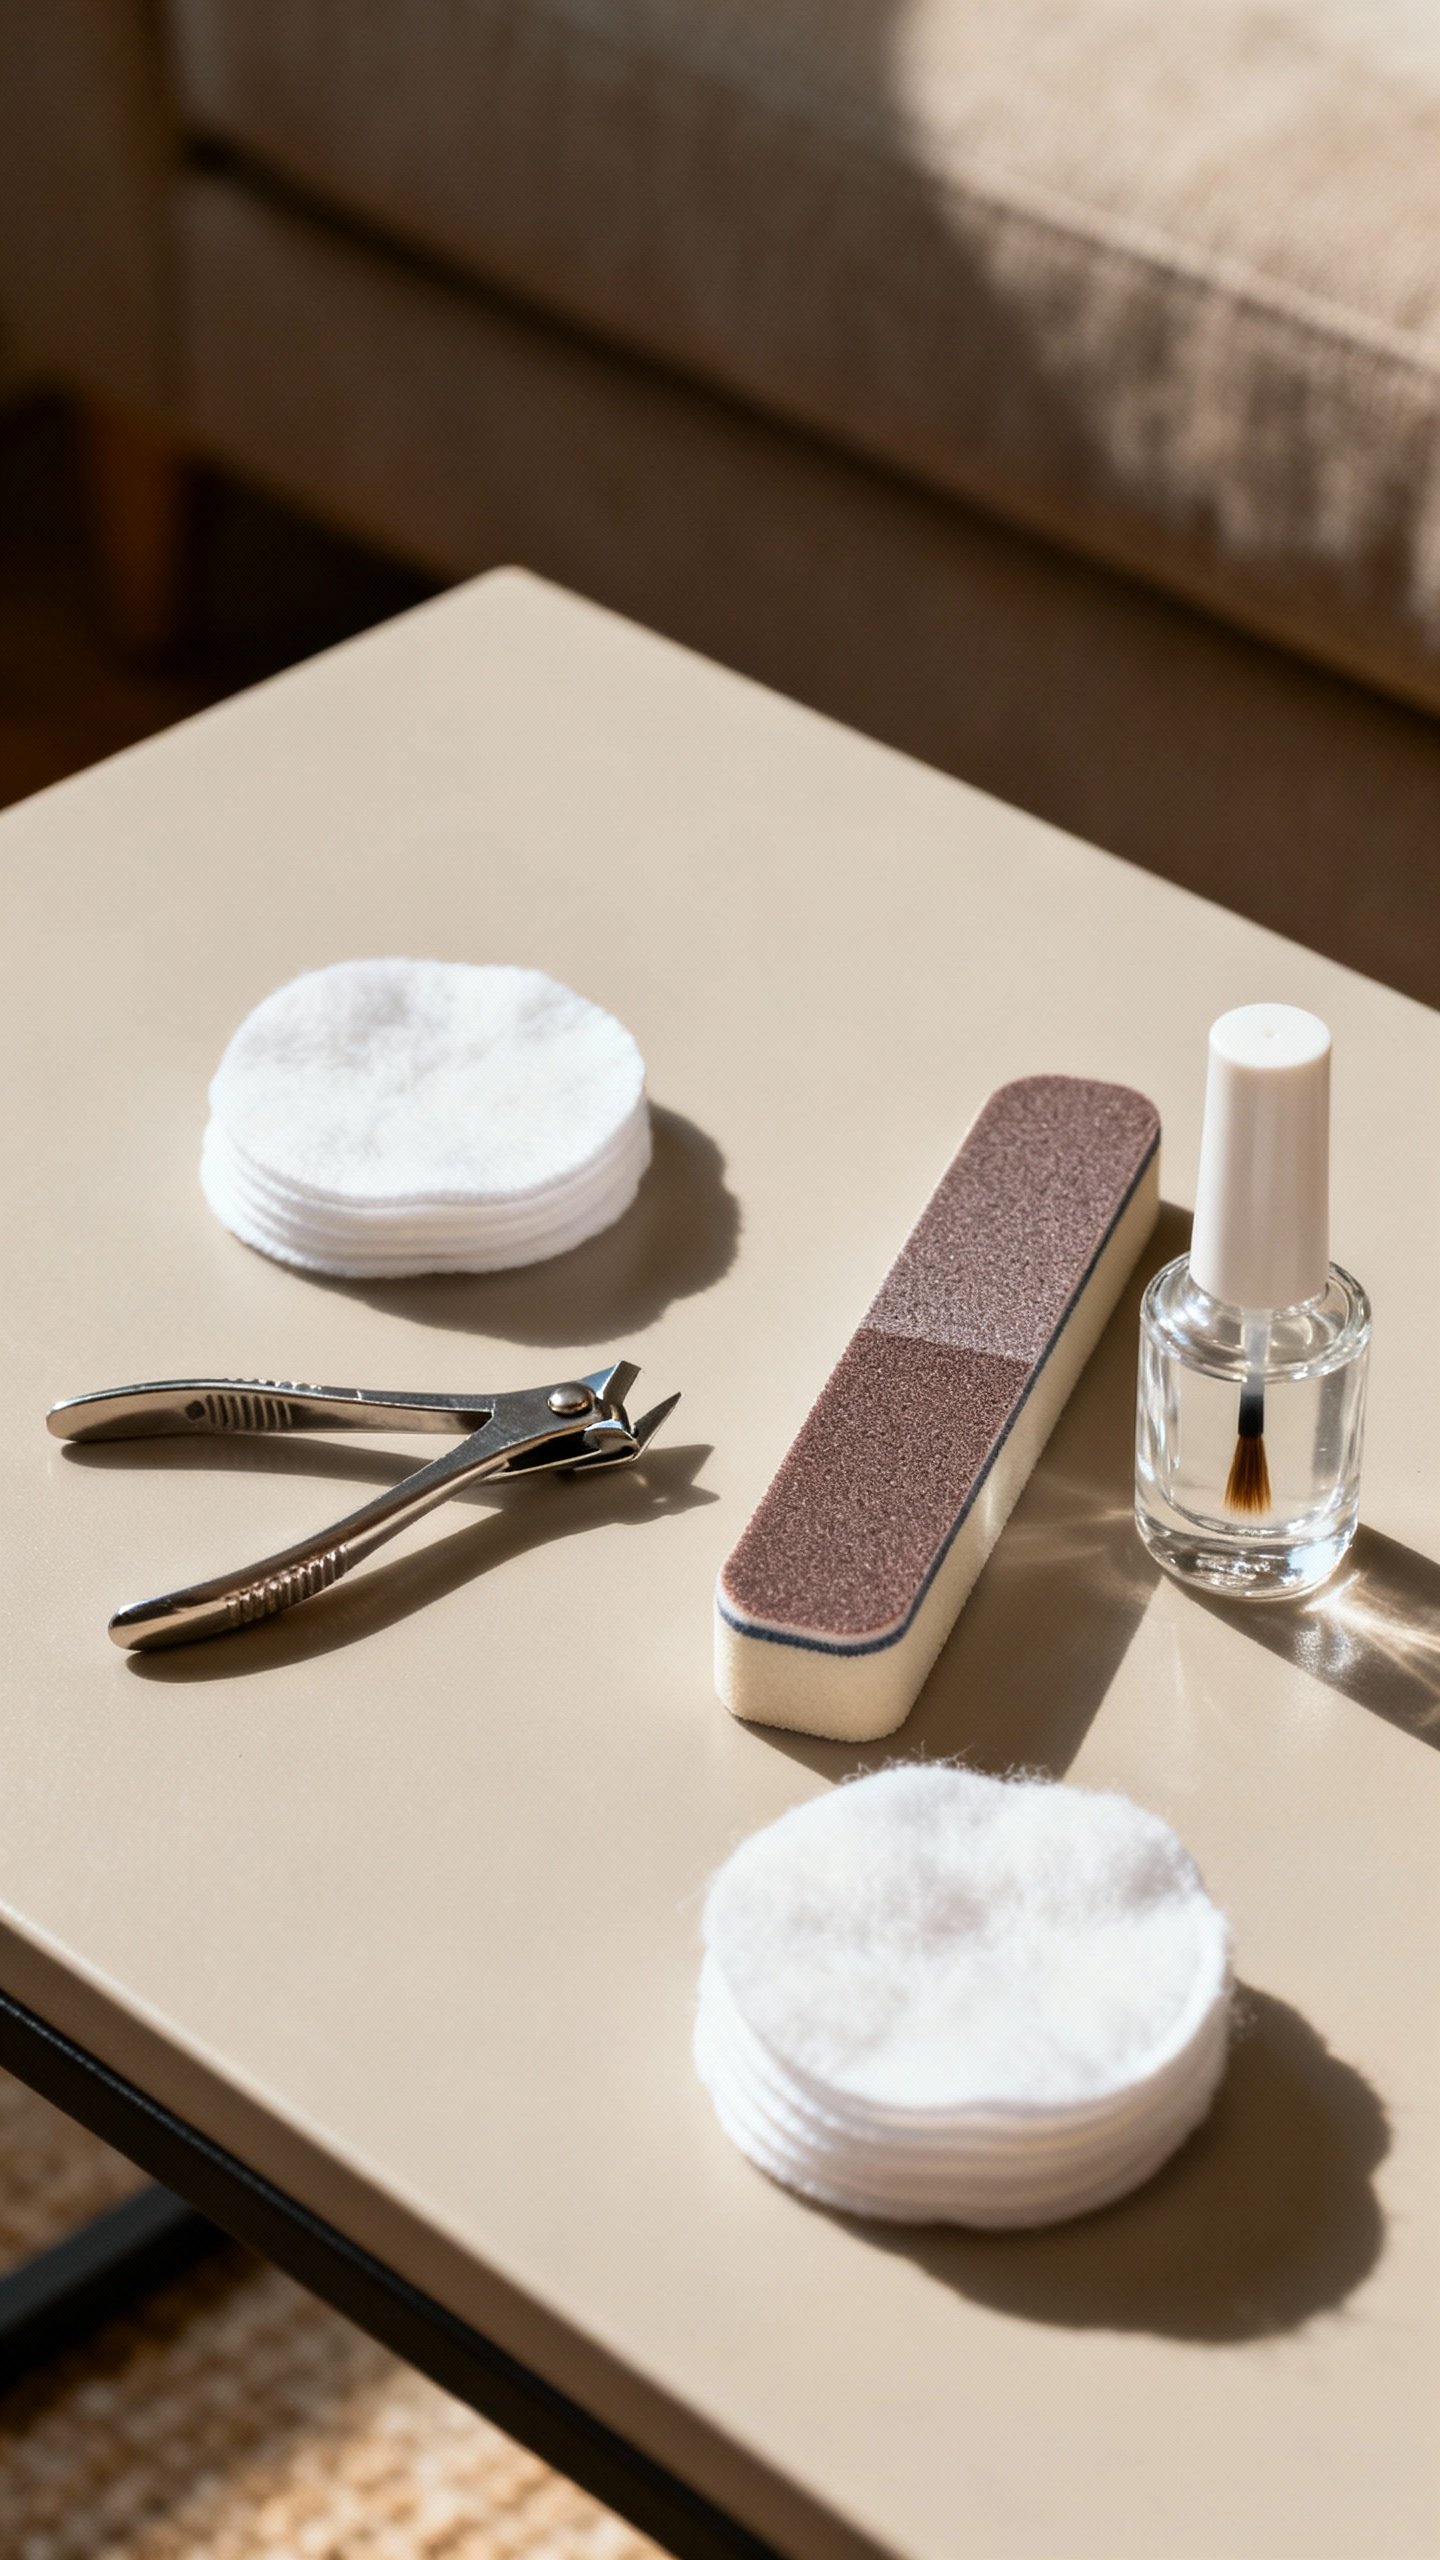
Gather Your Tools (A.K.A. Your Manicure Arsenal)
First things first: set yourself up for success.
You can’t build a smooth, shiny finish with dull clippers and mystery-polish from 2012. Collect your tools and lay them out so you’re not hunting mid-mani.
- Nail polish remover (non-acetone for regular polish; acetone for quick removal)
- Cotton pads or lint-free wipes
- Nail clippers and a glass or fine-grit file
- Cuticle remover (optional but helpful) and a cuticle pusher
- Cuticle nippers (only if you know what you’re doing)
- Buffer (soft, 4-sided block)
- Hand scrub or gentle exfoliant
- Hand cream and cuticle oil
- Base coat, color polish, and a top coat
- Small clean-up brush or cotton swab
- Isopropyl alcohol (or a nail dehydrator)
FYI: Good tools last. A glass file and a quality top coat make a bigger difference than you think.
Prep Like a Pro (This Is Where the Magic Starts)
Prep equals polish longevity.
Rushing this part guarantees chips and sad vibes. Slow down, sip something, and pamper your nails for five extra minutes.
- Remove old polish. Saturate a cotton pad, press for a few seconds, and swipe clean. Avoid endless scrubbing—let the remover do the work.
- Clip and shape. Trim long nails first, then file in one direction.
Go for a shape that mirrors your cuticle line: round, oval, or squoval for an easy, classic look.
- Soften cuticles. Apply cuticle remover and wait per instructions. Gently push cuticles back—no force, no drama.
- Nip hangnails only. If you see ragged bits, snip them. Do not cut live cuticle.
You are not performing surgery.
- Buff lightly. A few passes over the nail surface smooth ridges. Don’t go wild—over-buffing thins nails.
Shaping Tips That Make Nails Look Longer
- Squoval: Universally flattering. Straight sides, soft corners.
- Oval: Slims fingers visually and looks chic with short length.
- Round: Great if you type a lot or prefer super short nails.

Clean Slate: Wash, Exfoliate, and Dehydrate
Polish sticks to clean, dry nails like a dream.
Oil and dust? That’s a three-day chip waiting to happen.
- Wash hands. Rinse away remover residue and cuticle gel.
- Exfoliate. Use a gentle hand scrub to smooth rough patches. Rinse and pat dry.
- Hydrate, then dehydrate. Massage a little hand cream in, then wipe each nail with isopropyl alcohol to remove oils from the plate.
It sounds counterintuitive, but it’s key.
IMO, this step separates the week-long mani from the mid-week meltdown.
Base Coat: The Unsung Hero
Never skip base coat. It grips color, prevents staining, and smooths tiny imperfections. It’s the primer of nail world—boring, but essential.
- Apply a thin layer. Start a hairline away from the cuticle, then float down to the tip.
- Cap the free edge. Swipe the tip to seal.
It helps prevent tip wear.
- Let it set. Give it 60–90 seconds. Touch nothing. Breathe.
Contemplate your color choice.
Choosing the Right Base Coat
- Ridge-filling: Smooths texture for a glassy finish.
- Strengthening: Good for peeling or weak nails.
- Stain-preventing: A must under dark reds and blues.
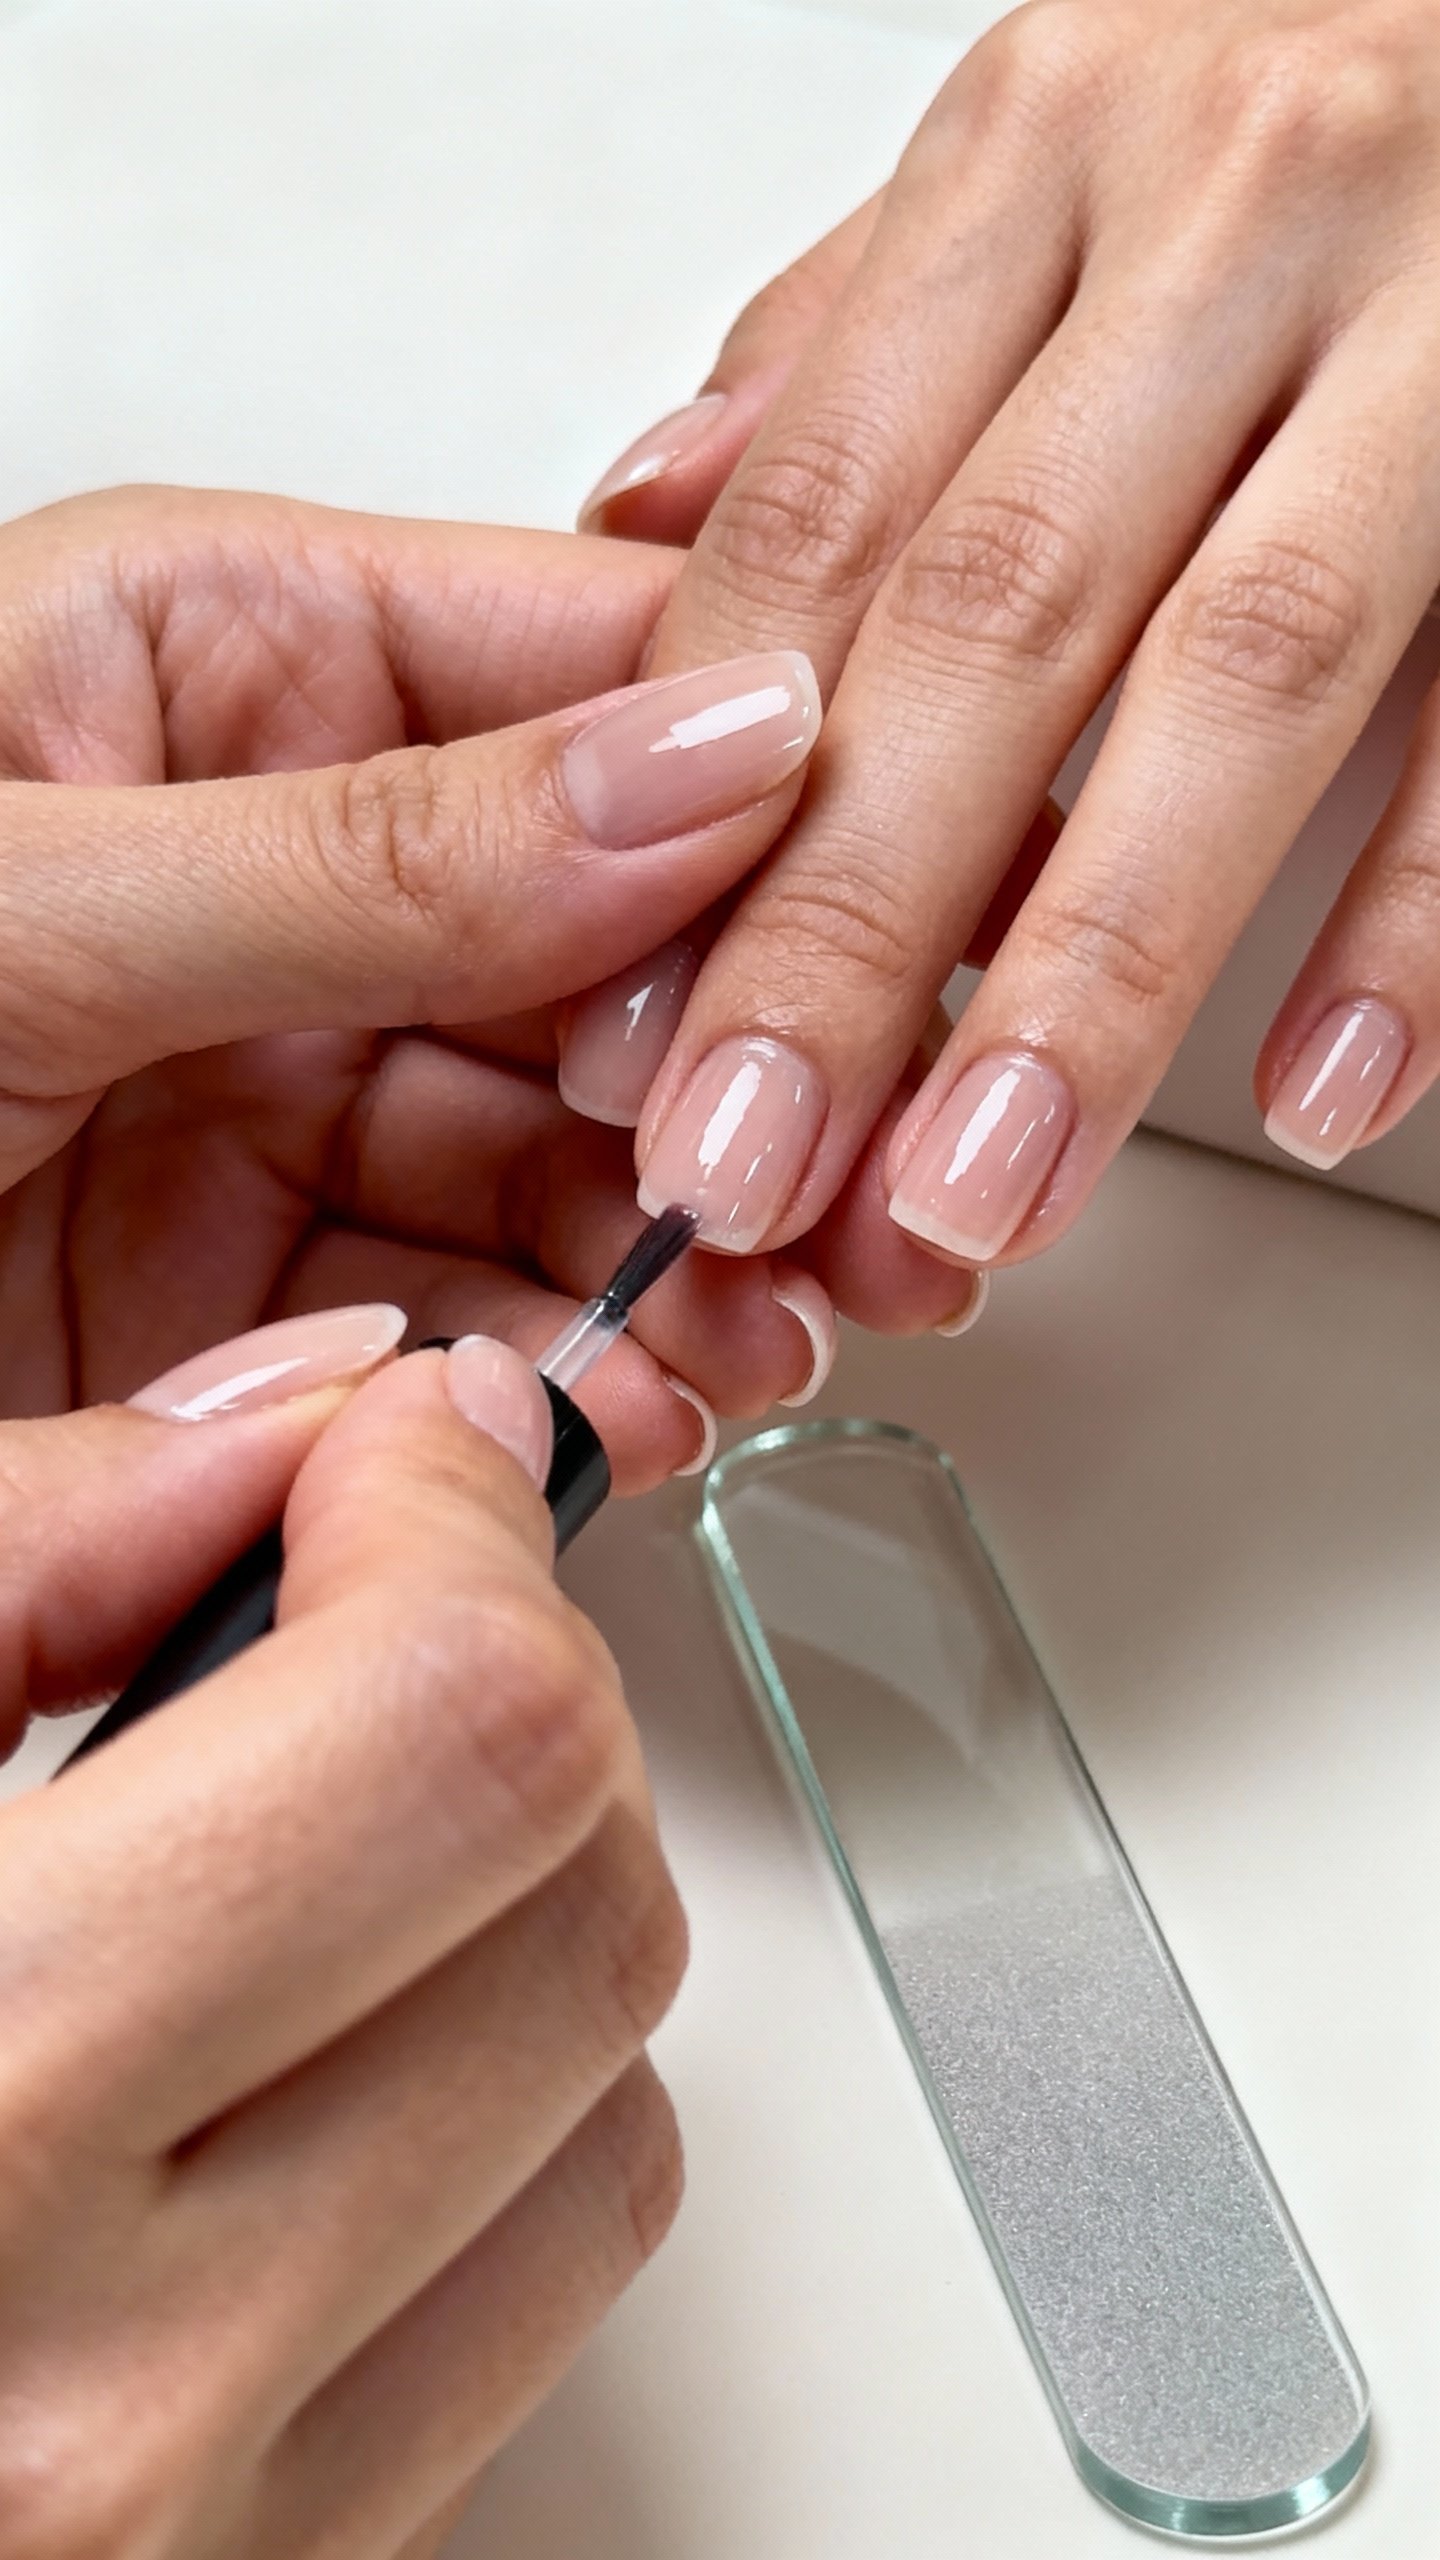
Color Application: Thin, Even, Flawless
Here’s where you channel your inner perfectionist. The trick? Thin coats and a steady hand.
You can fix mistakes with a tiny brush—no panic needed.
- Roll your bottle. Don’t shake—bubbles are the enemy.
- Load your brush lightly. Wipe one side of the brush against the bottle neck so it doesn’t flood your cuticle.
- Use the three-stroke method. One swipe down the center, then one on each side. Keep a tiny gap around the cuticle for a clean line.
- Do two thin coats. Let the first layer set for a minute before the second. Thin layers dry faster and look smoother.
- Clean up. Dip a small brush in remover and perfect the edges.
It’s the difference between “I did this at home” and “Which salon?”
Classic Shades That Never Fail
- Sheer pink or beige: Polished and forgiving—great for beginners.
- True red: Timeless and bold. Make sure you used a stain-preventing base.
- Soft mauve or nude: Office-friendly, weekend-ready, always classy.
Top Coat: Seal the Deal
Top coat makes everything look glossy and last longer. It’s like a screen protector for your manicure—skip it and you’ll regret it, promise.
- Float it on. Don’t press hard.
Let the brush glide so you don’t drag color.
- Cap the tip again. Extra insurance against chips.
- Let it dry. Quick-dry top coats speed things up, but still give it 10–15 minutes before doing anything important. Like putting on jeans.
Speed-Dry Tricks (Without Ruining Everything)
- Wait 2–3 minutes between layers. Patience beats smudges.
- Use quick-dry drops or spray. They help set the top layer.
- Cold water dip? It helps a little, but don’t dunk before the surface sets or you’ll dent the polish.
Finishing Touches: Oil, Cream, and Cleanup
Almost there. Now you make it look salon-level with some TLC.
- Cuticle oil: Apply a drop around each nail once the top coat is touch-dry.
It adds shine and prevents dryness.
- Hand cream: Massage in after oil absorbs. Hydration = glow.
- Final check: See any smudges? Smooth gently and add a tiny bit of top coat to fix.
FYI: Oil daily and your mani lasts longer.
Dry cuticles snag and chip polish—science and also common sense.
Maintenance: Keep It Fresh All Week
You just did all that work—help it last. A few small habits stretch your polish for days.
- Top coat refresh: Add a thin layer every 2–3 days for shine and protection.
- Gloves for chores: Hot water and detergents wreck polish. Wear rubber gloves and feel like a domestic superhero.
- File snags immediately: Catch a chip early and smooth it before it spreads.
- Moisturize often: Oil and cream keep nails flexible and less prone to breaking.
IMO, the top coat refresh alone is a game-changer.
It takes 60 seconds and saves the whole look.
FAQ
How long should I wait between coats?
Wait about 60–90 seconds between base, color coats, and top coat. Touch the nail lightly—if it feels tacky but not wet, you’re good to add the next layer. Rushing leads to dents and smears that haunt you all week.
How do I avoid bubbles in my polish?
Don’t shake the bottle—roll it between your hands.
Apply thin layers, avoid doing nails under a fan, and keep your hands cool. Thick coats trap air and create those annoying little bumps.
Should I soak my nails before pushing back cuticles?
A short soak softens skin, but it also swells the nail plate, which can cause chips later. If you want longevity, use a cuticle remover and skip soaking, or keep it super brief and dehydrate the nail with alcohol before polish.
My polish always floods my cuticles.
Help?
Wipe excess polish off one side of the brush and keep a tiny gap from the cuticle when you start your stroke. If it floods, clean up immediately with a small brush dipped in remover. Practice makes cleaner cuticle lines—promise.
What if I smudge a nail right after finishing?
If it’s a small nick, wet a fingertip with a little remover and gently pat the area flat, then add a thin layer of top coat.
If it’s a full-on disaster, remove that nail’s polish only, reapply base, color, and top. No one will notice.
Can I use gel polish with this routine?
Yes, the prep is the same, but you need a UV/LED lamp, gel base, gel color, and gel top coat. Cure each layer per the product’s instructions and skip regular top coat.
Removal changes too—soak-off with acetone and wrap.
Conclusion
You don’t need salon prices to get salon results—you just need good prep, thin coats, and a bit of patience. Keep your tools handy, re-up your top coat mid-week, and oil like you mean it. The payoff?
Shiny, chip-resistant nails that make even a grocery run feel fancy. Now go admire your handiwork and try not to open any cans for at least 20 minutes.
Before you go…
If you find yourself short on time but still want stylish nails, press-on nails are your best friend! Perfect for a quick fix, press-on nails offer a salon-quality finish in minutes without the drying time or the extra effort.
They come in various designs and sizes, making it easy to get a perfectly tailored look right at home. Simply clean your nails, find your fit, and press them on for instant glamour that lasts for days.
Save time and effort for things you love while keeping your nails looking fabulous.
check out the ones I love below.

- High-Quality Press-On Nail Kit: All Glamnetic Press-On Nail Sets offer high-quality salon style and feature protective U…
- French Top Natural Almond Nails – Each nail features a tapered fit towards the cuticle to give you the most natural look…
- Premium Durability with Up To 2 Weeks Per Wear – High-quality is our middle name. This customizable nail set can be trim…


Leave a Reply